
Getting started
This page helps you start using ZERPY: creating an account or joining through a colleague's invitation, company details, the "First steps" card on the home page and an overview of the menu.
Creating an account and a company
- On the sign-in page, open the Create account link.
- Enter your Full name, Email and Password. The password must be at least 10 characters long – a sentence of several words makes a good password.
- Press Create account. ZERPY sends you an e-mail – check your email to confirm your account and press the link in it.
- After confirming, the page Set up your company opens. Enter the Company name and, if you like, the Registry code and VAT number.
- Press Create company. You are now the owner of this company and land on the home page.
TIP
You can change these details later in Settings.
Joining through a colleague's invitation
If someone in your company invited you, you received an e-mail with a link. The invitation is valid for 14 days and can be used once.
- Press the link in the e-mail. The page Join … in ZERPY opens and shows the role you were given.
- If you do not have a ZERPY account yet, choose New account, Choose a password and press Create account and join. If asked, confirm your e-mail address – the link in that e-mail brings you back to the same page.
- If you already have an account, choose I have an account and press Sign in and join. If you are already signed in, just press Join the company.
WARNING
The invitation must be accepted with the same e-mail address it was sent to. If you are signed in with another address, ZERPY asks you to sign out first.
If the link has expired or was already used, ask the person who invited you for a new invitation. See also Team.
Company details
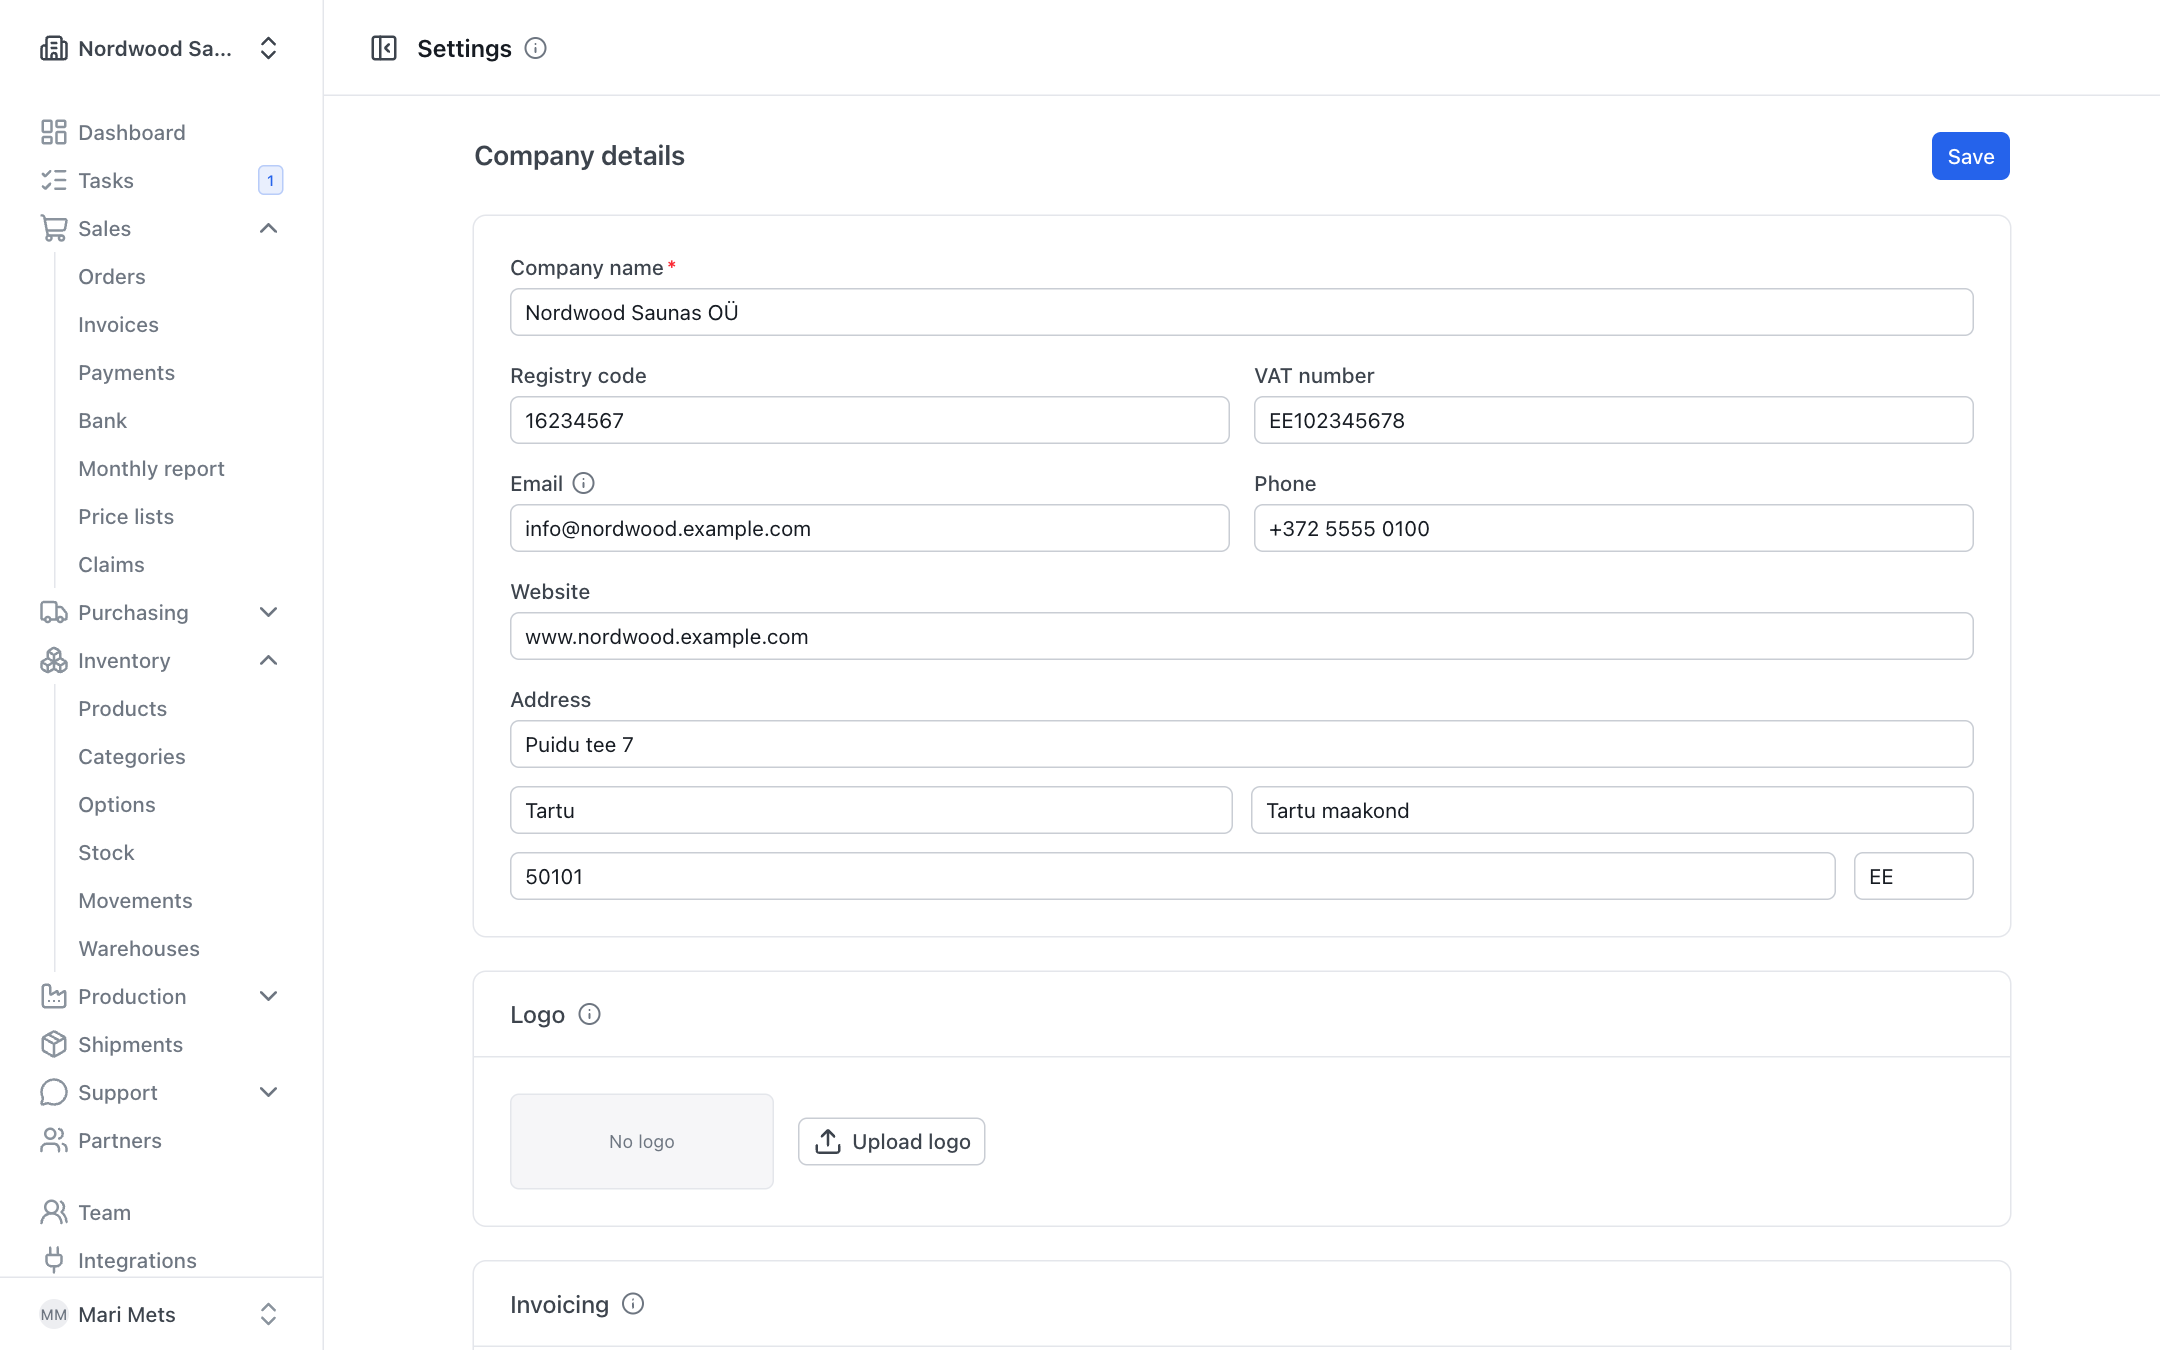
Your company details are printed on invoices, orders and other documents. They are entered by an owner or admin in Settings:
- Company name, registry code, VAT number, e-mail (customers reply here), Website and Address;
- Logo – PNG or JPG up to 300 KB;
- Invoicing – bank accounts (Add bank account), Document language, Other document languages and the Invoice footer note.
The Settings page describes these in detail.
First steps on the home page
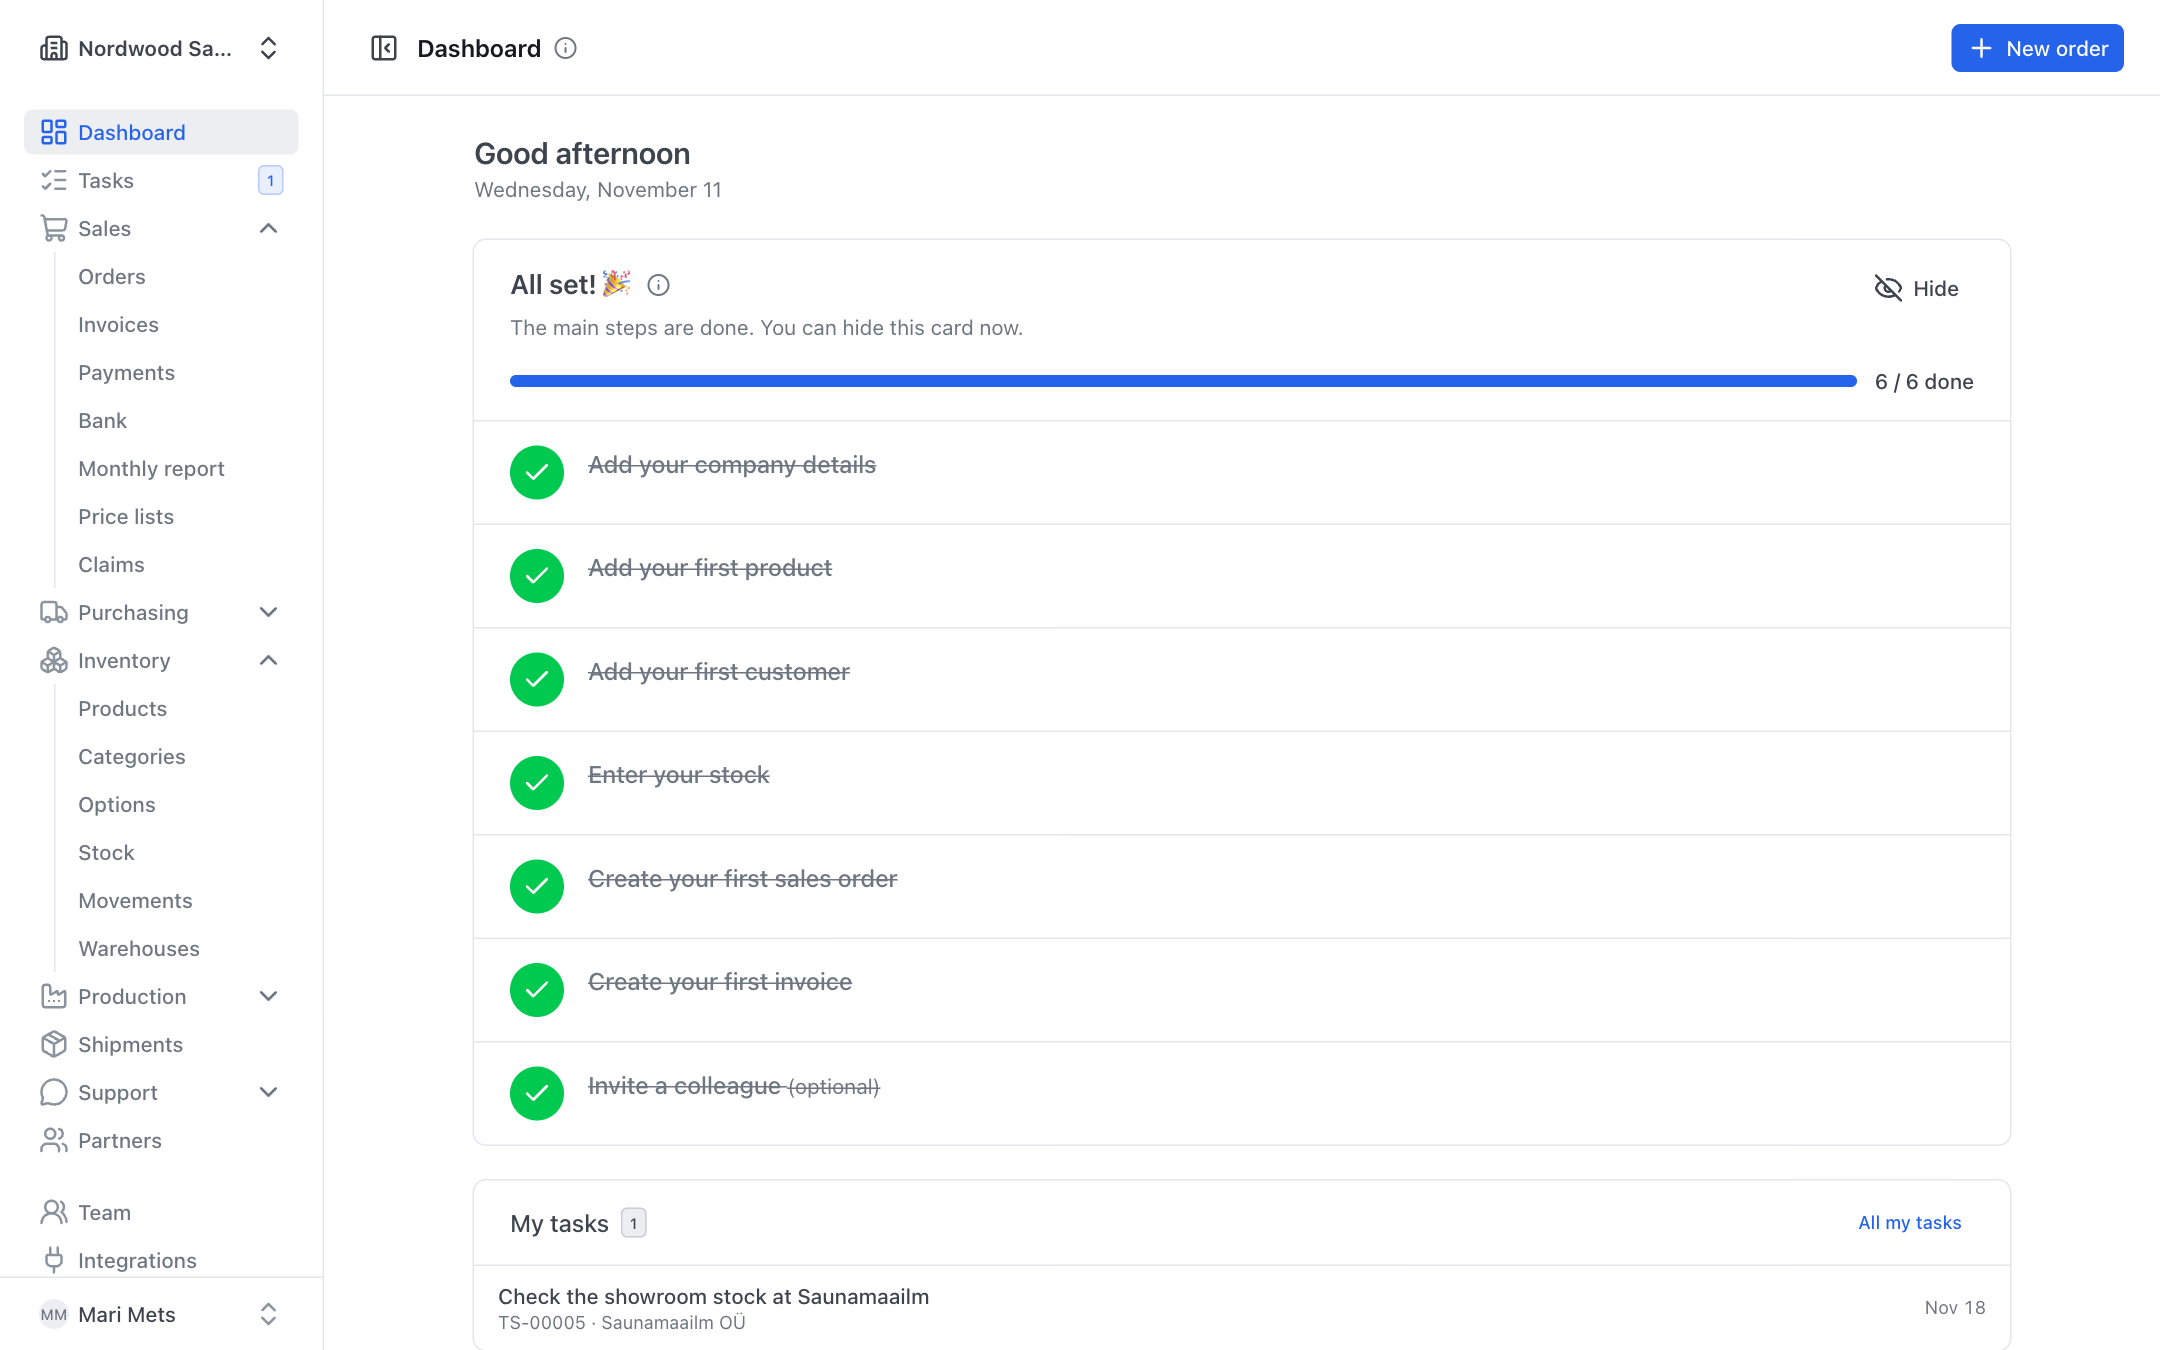
Owners and admins see the First steps card on the home page. It walks you through the main steps in order:
- Add your company details – address and at least one bank account.
- Add your first product – name, price and VAT. See Products.
- Add your first customer – for a company, enter the VAT number and press Check; the name and address are filled in for you. See Partners.
- Enter your stock – type how much of each product you have now. If you only have services, this step counts as done. See Inventory.
- Create your first sales order – choose a customer and products. See Sales.
- Create your first invoice – open a confirmed order, press Create invoice, then Issue invoice. See Invoices.
- Invite a colleague (optional) – see Team.
Each step has a button that opens the right form directly. The next open step is highlighted.
You never tick anything yourself: a step is marked done when the data exists (for example when the first product is added). You can also do the steps in another order.
When you no longer need the card, press Hide. It is hidden for the whole company. You can bring it back in Settings → First steps on the home page.
The menu
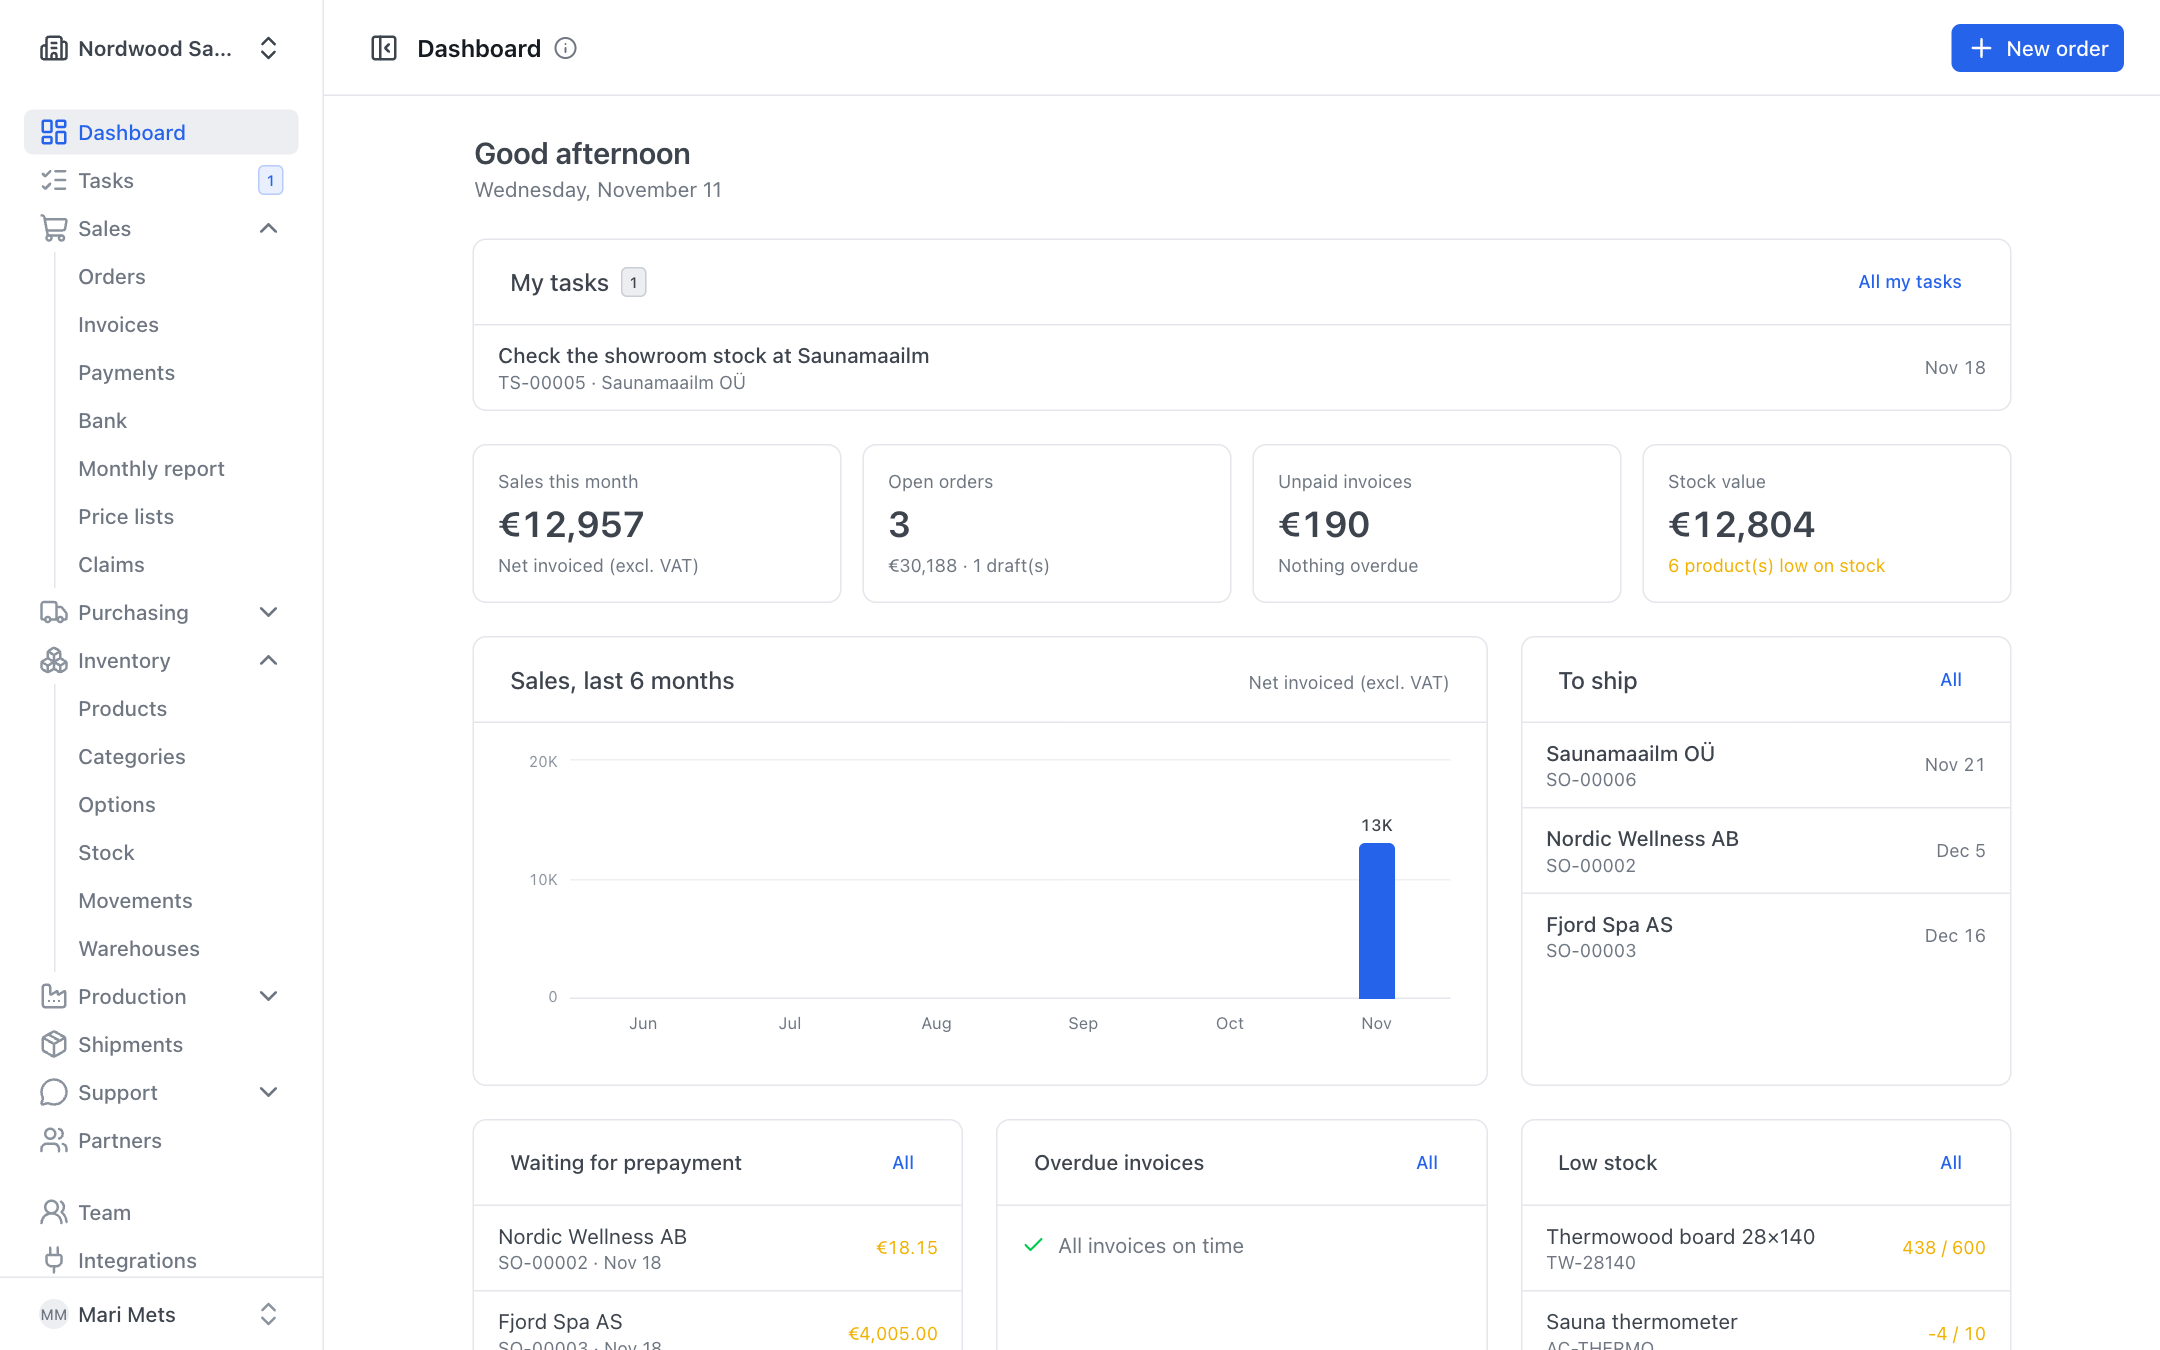
The sidebar is on the left. You only see the menu items your role allows (see Team).
| Menu | What is there |
|---|---|
| Dashboard | Home page: this month's sales, orders waiting to be shipped, unpaid invoices, stock and production |
| Tasks | Work assigned to you and your colleagues – Tasks |
| Sales | Orders, Invoices, Payments, Bank, Monthly report, Price lists, Claims |
| Purchasing | Purchase orders, Reorder – Purchasing |
| Inventory | Products, Categories, Options, Stock, Movements, Warehouses |
| Production | Plan, Capacity, Production orders, Bills of materials, Serial numbers – Production |
| Shipments | All shipments sent out |
| Support | Website chat and Chat settings – Website chat |
| Partners | Customers and suppliers |
At the bottom of the menu, owners and admins see Team, Integrations, Activity log and Settings.
Your company name is at the top of the menu. If you belong to several companies, you can switch to another company there.
Help on every page
Every page has an ⓘ next to its title. Press it (or hover over it) to read a short explanation of what you can do on that page.
Language and theme
ZERPY is available in English and Estonian. On your first visit the language follows your browser.
- On the sign-in page, choose the language with the language button.
- When signed in, open your name at the bottom of the sidebar and choose Language → English or Eesti.
- In the same menu you can choose the Theme: Light, Dark or Auto (as on your computer).
The app language does not change the language of documents – invoices and e-mails to customers go out in the customer's language (see Partners). More about your own account: My profile.